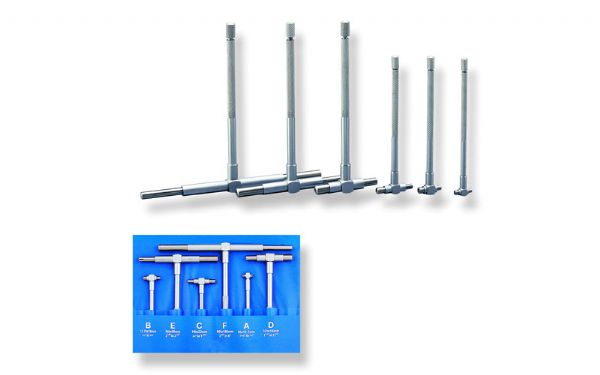
Telescoping Gauges 6 Sets
The gauge is used to measure bores where inside micrometers will not fit. These ends are spring loaded and are held in any given location by a long screw that is operated via a knurled ring at the end of the handle. (Small hole gages operate similarly except that the long screw is terminated by a wedge that spreads the split-globe heads apart.)
Features:
--Spring loaded, self centering plungers
--Twist-knob for measurement locking
--Includes vinyl case
--The long rods make it easy to reach inside bores
--Perfect telescoping gauge set for the home or workshop
--Stainless steel
--OEM is acceptable
Specification:
|
Range
|
mm
|
8-12.7
|
12.7-19
|
19-32
|
32-54
|
54-90
|
90-150
|
|
in
|
|
|
|
|
|
|
|
L
|
mm
|
102
|
102
|
102
|
127
|
127
|
127
|
|
in
|
4
|
4
|
4
|
5
|
5
|
5
|
 Are Loading Data, Please wait while loading...
 cn
cn en
en es
es pt
pt Product Search
 Product Columns
 Product Details